Introduction: Setting up a Linksys RE1000 extender can help you extend the range of your wireless network and eliminate dead zones in your home or office. To ensure a successful and hassle-free setup process, we have compiled a list of expert tips to guide you through the process. Follow these steps carefully to get the most out of your Linksys RE1000 extender and enjoy a seamless Wi-Fi experience.
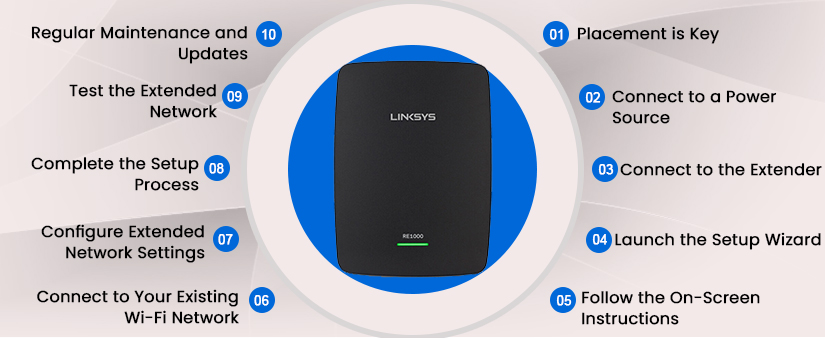
Placement is Key: To achieve optimal performance, choose a suitable location for your Linksys RE1000 extender. Place it midway between your router and the area where you want to boost the Wi-Fi signal. Avoid obstructions such as walls or large furniture that may hinder signal strength.
Connect to a Power Source: Once you have found the ideal location, connect the Linksys RE1000 extender to a power outlet. Ensure that the power source is stable and not prone to frequent interruptions.
Connect to the Extender: Using a computer or mobile device, connect to the Wi-Fi network named “Linksys Extender Setup.” This network is created by the extender to facilitate the setup process.
Launch the Setup Wizard: Open a web browser and enter “http://extender.linksys.com” or the default IP address “192.168.1.1” in the address bar. This will launch the Linksys extender setup wizard, which will guide you through the configuration process.
Follow the On-Screen Instructions: The setup wizard will provide step-by-step instructions to configure your extender. Follow the on-screen prompts carefully, ensuring that you select the appropriate settings and enter the required information accurately.
Connect to Your Existing Wi-Fi Network: During the setup process, you will be prompted to select your existing Wi-Fi network and enter the corresponding password. Make sure to choose the correct network and enter the password accurately to establish a secure connection.
Configure Extended Network Settings: Once your Linksys RE1000 extender is connected to your existing Wi-Fi network, you will have the option to customize the settings. You can set a unique SSID (network name) and password for your extended network, or you can choose to keep the same settings as your main router.
Complete the Setup Process: After configuring the extended network settings, click on the “Finish” button to complete the setup process. The extender will save the settings, and you will receive a confirmation message indicating that the setup was successful.
Test the Extended Network: To ensure that your Linksys RE1000 extender is working correctly, move to the area where you previously experienced weak Wi-Fi coverage. Connect your device to the extended network and perform a speed test to verify improved signal strength and network performance.
Regular Maintenance and Updates: To keep your Linksys RE1000 extender functioning optimally, it’s important to perform regular maintenance. Check for firmware updates on the Linksys support website and install them when available. Additionally, restart your extender and router periodically to refresh the network connection.
Conclusion:
By following these expert tips, you can easily set up Linksys RE1000 extender and enjoy extended Wi-Fi coverage throughout your home or office. Remember to choose an optimal location, follow the setup wizard instructions carefully, and regularly maintain your extender for the best performance. With the Linksys RE1000 extender, bid farewell to Wi-Fi dead zones and enjoy seamless connectivity across your entire space.
Disclaimer:- linksys-wifi.com is an online platform where we address different issues related to Linksys extenders and routers. We operate independently and we do not have any sort of accreditation with any manufacturer or third-party brand. The product images, illustrations, brand names, logos, and trademarks used on this page are only for informational and referential purposes. We provide our services only on users’ demand.