Master Your Linksys Velop Pro 7 Setup Game
In today’s era when you ask someone about the basic necessities in life, they’ll definitely include access to a super smooth and fast internet. One name that is well-settled in the hearts of people when it comes to finding the best networking gadgets is none other than Linksys. To amp up the networking experience of their customers Linksys has come up with its latest device known as Linksys Velop Pro 7 which comes with the latest Wi-fi 7 standards. With this super powerful gadget, you’ll experience jaw-dropping fast internet speeds. Be it streaming, gaming, browsing, downloading, uploading, or working from home this gadget won’t disappoint you in any field. But to get access to all these benefits the only thing you need to do is install the Linksys Velop Pro 7 in your home.
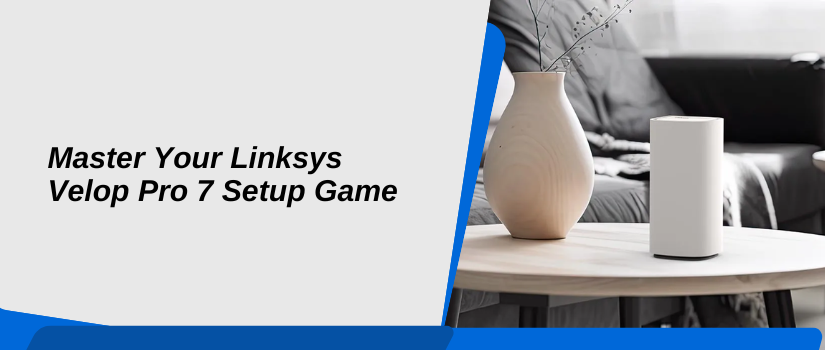
Linksys Velop Pro 7 Setup Guide
Sometimes setting up a technical gadget seems to be a little difficult task. It can be due to the use of technical words and complex processes but don’t worry we are here for your rescue. We will explain the Linksys Velop Pro 7 setup process in very easy, straightforward, and simple steps. Before you begin with the Linksys Velop Pro 7 setup make sure you have access to a smooth internet. Let’s begin with the further process:
Note: Always keep the user manual handy during the setup as it contains all the minute details about the device. In case you are setting up the device for the second time, make sure to perform a factory reset before proceeding with the setup as it will erase all the previous data stored in the device and will further pave the way for smooth installation.
In case you still face difficulty with the Linksys Velop Pro 7 setup, feel free to contact the Linksys customer support team. You can connect with them via phone call, or through live chat, and you can also post about your queries on Reddit. I hope you found this post helpful. Happy Networking!
