Linksys RE7000 Setup: Steps For New Users
Desire to boost your home network setup? Searching for a range extender device that can uplift the coverage of your home network? Confused among several devices which to go with and finally selected linksys re7000 device? Now hunting for the accurate Linksys RE7000 Setup process? If the answer to all the questions is yes then you reached the right platform. Here you will find complete instructions of device setup via web and WPS. you can follow any method to add the device in your home network setup.
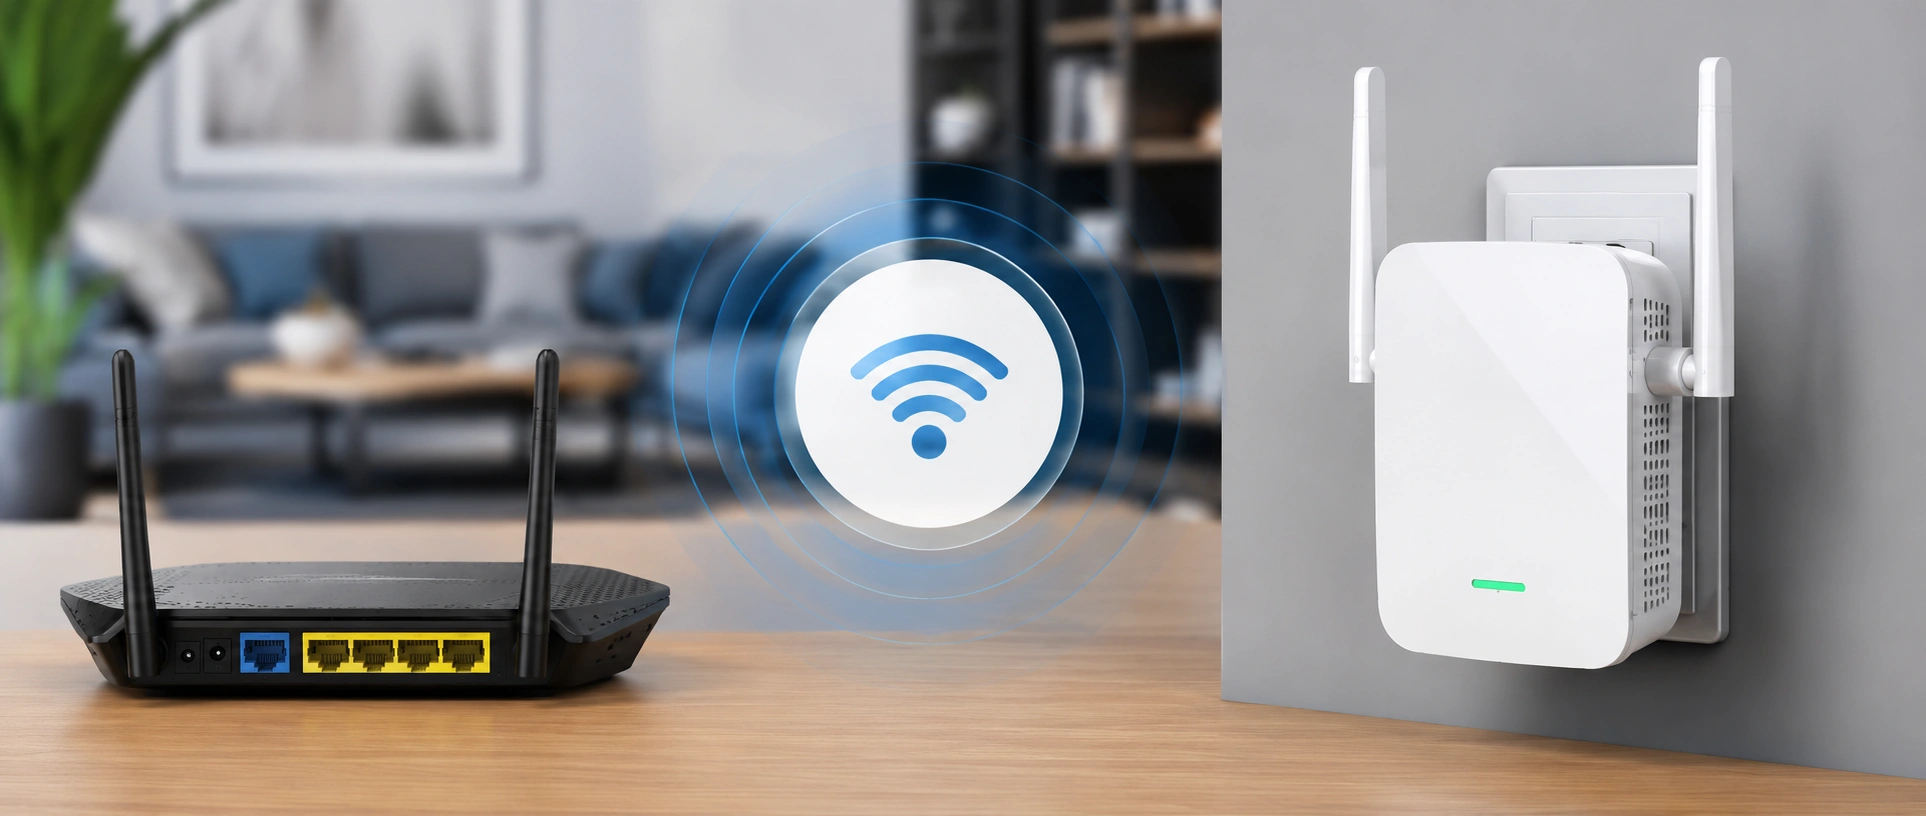
Install the Device
First you have to install your extender device close to the router device. For the placement of the device you need to keep certain things in mind, here are the placement instructions:
After placement of the device you have to power it up. As it is a compact device so you don’t need to put it in a separate location. Connect it directly to the wall outlet and turn on the power supply. Wait now until your RE7000 shows stable light to move ahead in the setup process.
Configure the Device
Configuration of the device is possible using two methods. Out of the two you can choose any one. Both the methods are described further with detailed instructions:
WPS
Linksys RE7000 Setup via WPS button is the simplest and easiest method to connect the range extender device with your home network setup. Here are the instructions:
Web
Linksys RE7000 Setup via web involves some technical steps but yet can be done by anyone. Here are the instructions:
Contact Us
Linksys RE7000 Setup process is very simple and easy as mentioned above. We try to simplify the technical terms for those who are not aware of technical terms. In case yet you experience difficulty then our tech team is available to assist you 24/7. You may communicate with the experts via call or by text. Contact number is given underneath and go to the contact us section to chat with experts.
