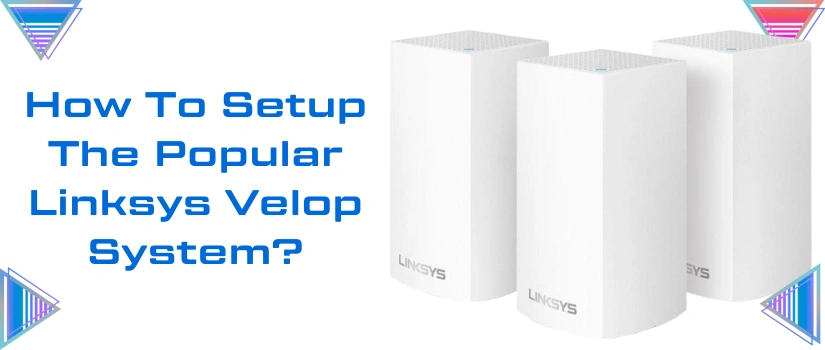
Linksys is one of the most trusted networking brands. Its Velop system is truly a masterpiece creation. Unlike other routers that fail to provide stable and wider wifi connectivity, the Linksys velop setup changes the entire networking game. It uses mesh technology, allows you to connect multiple smart gadgets all at once, and the best part is easy scalability. Just by adding child nodes, you can expand the coverage to a more area. Thus no more wifi dead zones and connectivity issues. So if you also got your hand on the Linksys Velop, then this blog post will definitely help you with the installation. To learn about the same, keep on reading.
Setup Requirements
For smooth and hassle-free execution of the Linksys velop setup, you need all these components:
A router that is connected to the internet source.
Up next, you definitely need Velop nodes and their respective adapters.
Thereafter, you require an Ethernet wire. This connects your main parent node to the modem.
Moving forward, you then need access to a vacant power outlet.
You need the default details that are written on the Velop router’s base panel.
Lastly a smart device to check the exact status of Linksys velop setup.
Setup Guidance
Once you gather all the setup components just follow these below-written steps precisely:
Firstly, if you have any existing router, you need to disconnect it and keep it aside.
Up next, for fresh pairing of the Velop router with the modem, you have to power cycle the modem. To power cycle, just turn off the power to the modem, then disconnect all the wires and wait for about a minute. After that, replug everything to its original settings.
Moving further, deploy the main Velop unit in the center of your abode, in the open and well ventilated space.
Now for the Linksys velop setup you need to pair up the hardware. So take the supplied Ethernet wire. Slide its one side into the modem and other into the internet port of the main velop node.
With that power on the router and wait for it to show solid purple light.
Thereafter, place all your child nodes nearby to the main parent node and activate them with the help of their respective adapters.
Finally, comes the most crucial step. So follow this Linksys Velop setup step very precisely. First ensure your internet connection type is Automatic (DHCP). Now on the bottom panel of the main velop node you’ll find a reset button. You have to press this button five times within five minutes. As you’ll do this the light on the nodes will start blinking.
So you just have to wait for the light to turn solid blue. This indicates a successful connection.
At last, reposition the nodes and connect your device to the velop system by using the details that are written on the product label. The label is affixed at the bottom of the Velop.
For other queries and assistance connect to our customer support team.
Disclaimer:- linksys-wifi.com is an online platform where we address different issues related to Linksys extenders and routers. We operate independently and we do not have any sort of accreditation with any manufacturer or third-party brand. The product images, illustrations, brand names, logos, and trademarks used on this page are only for informational and referential purposes. We provide our services only on users’ demand.